To set up your Domainnameshop-email in Outlook 2019 (Office365) for Windows, do the following:
Click on File in the Outlook window.
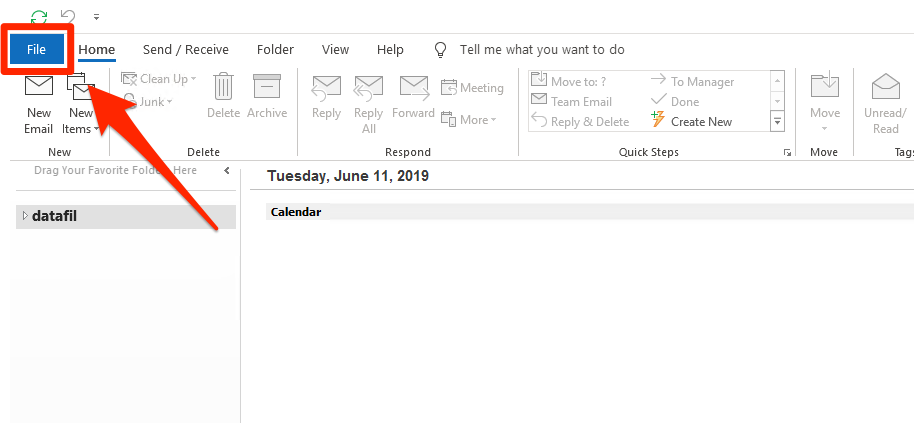
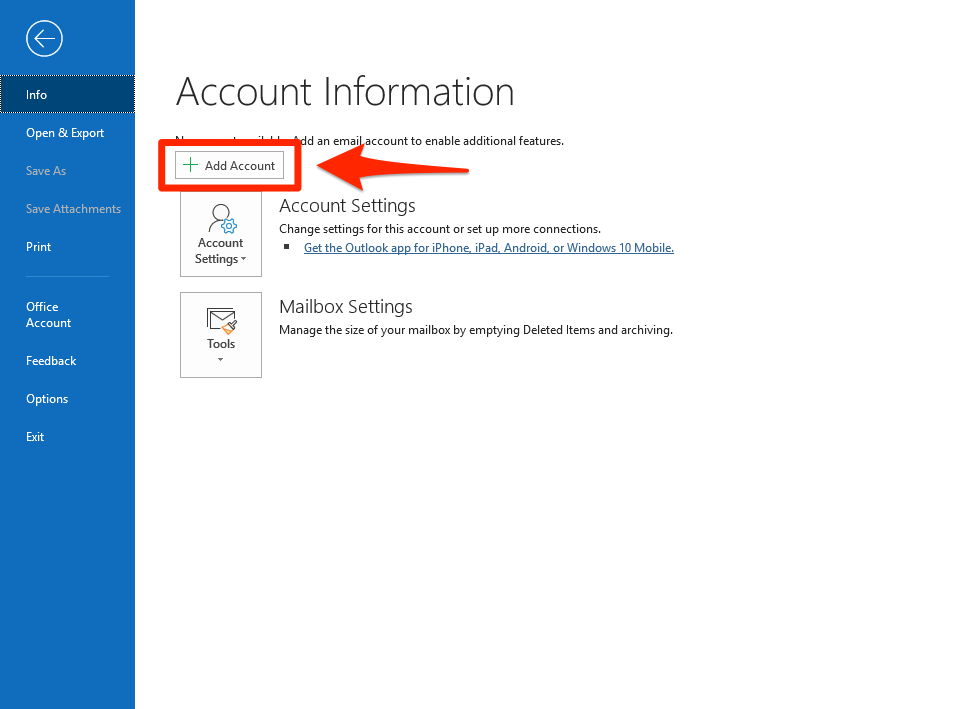
Click on Add account.
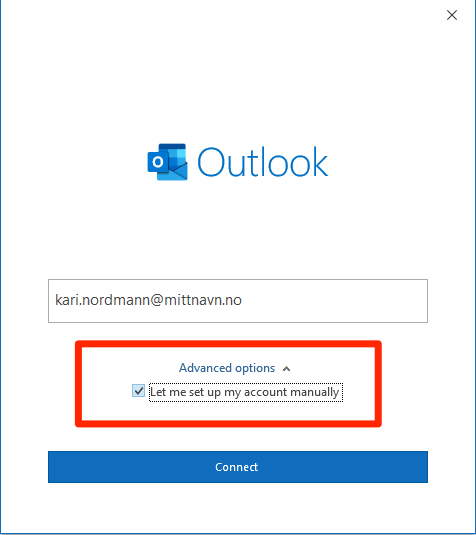
Fill in your email address and choose Let me set up my account manually under Advanced options.
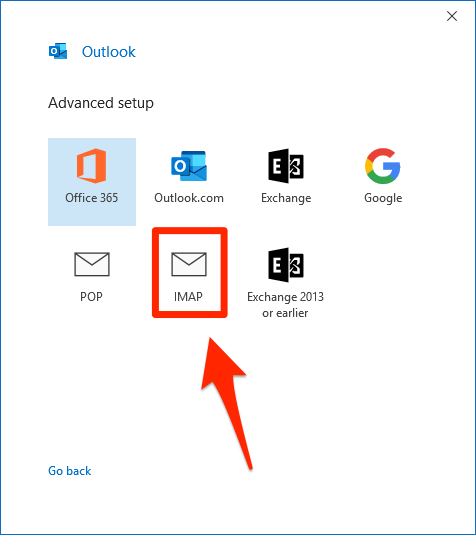
If Outlook asks you to choose your account type, choose IMAP.
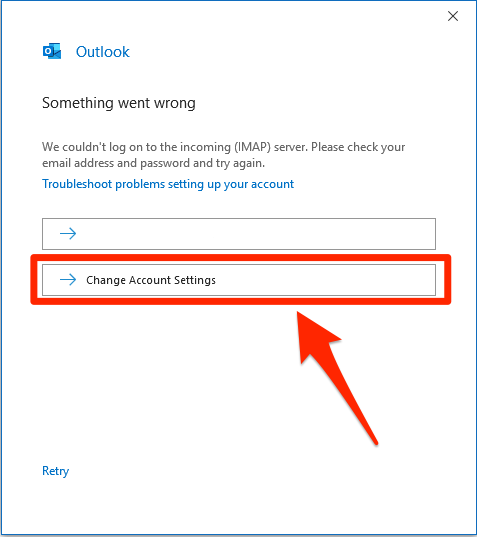
If the message below about "Something went wrong" appears, click Change account settings.
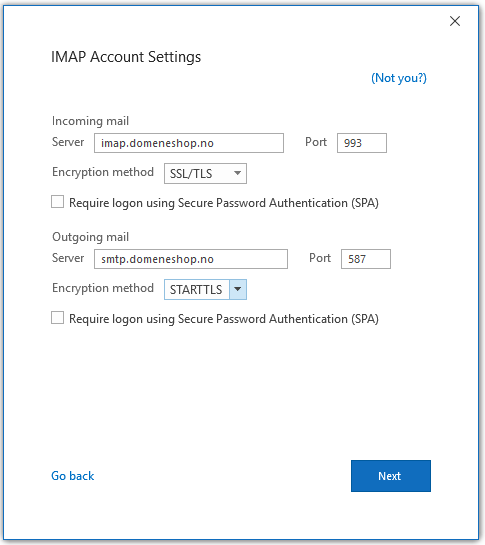
Ensure that the account settings are identical to the ones on the screenshot below, and then click next.
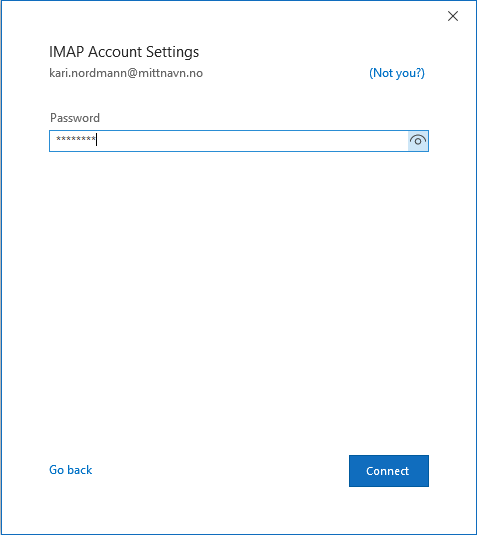
Enter your email account's password, and click Connect.
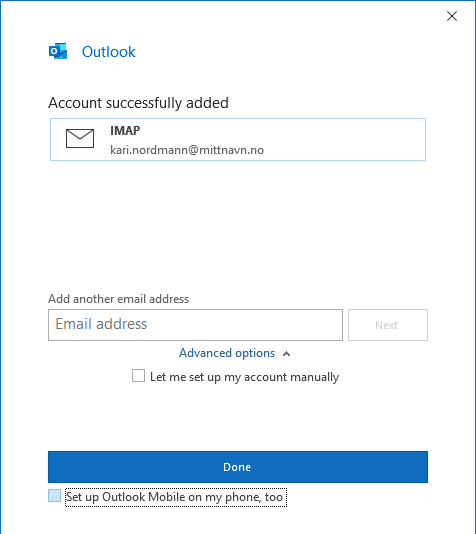
When the image below appears, the account is ready, and you can click Done


 support
 +47 2294 3333 (open)


