How to sett up an account (CalDAV) in Calender on Mac
To set up an account (CalDAV) in your Calendar-app in MacOS, do the following:
-
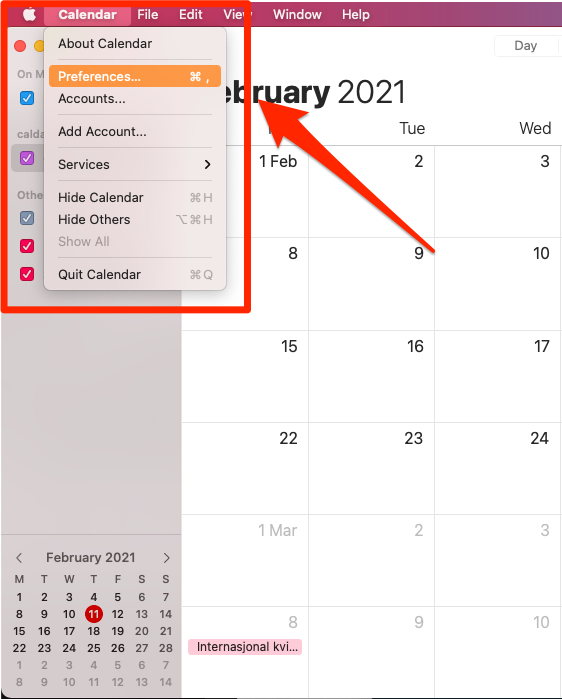
Open the Calendar app on your Mac

-
Click on Calendar in the top left corner, and then on "Preferences..."
-
Choose Accounts and click on the plus-sign at the bottom of the list

-
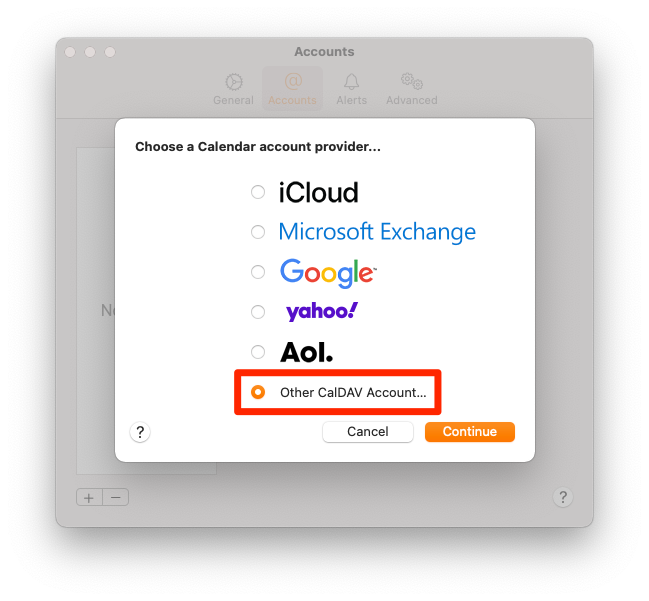
Choose Other CalDAV Account... and click Continue
-
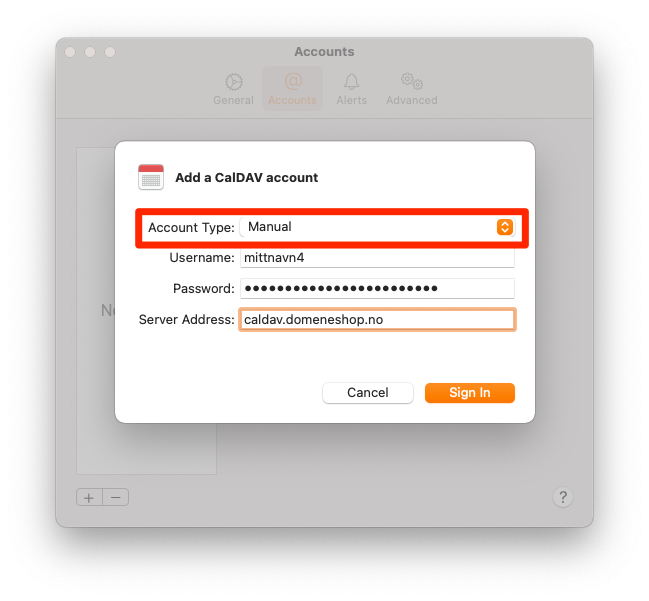
Let Account Type be "Manual".
Fill in your username and password.
The server address is caldav.domeneshop.no
Click Sign In
-
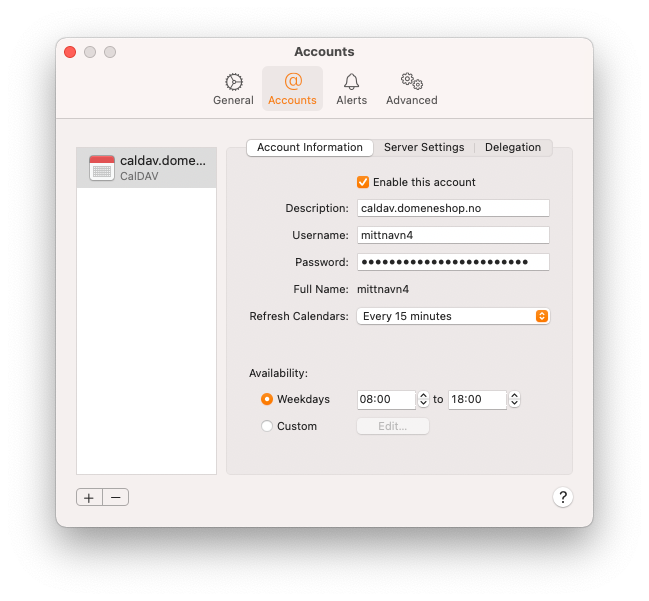
When the account is highlighted the Account Information should look like this.
-
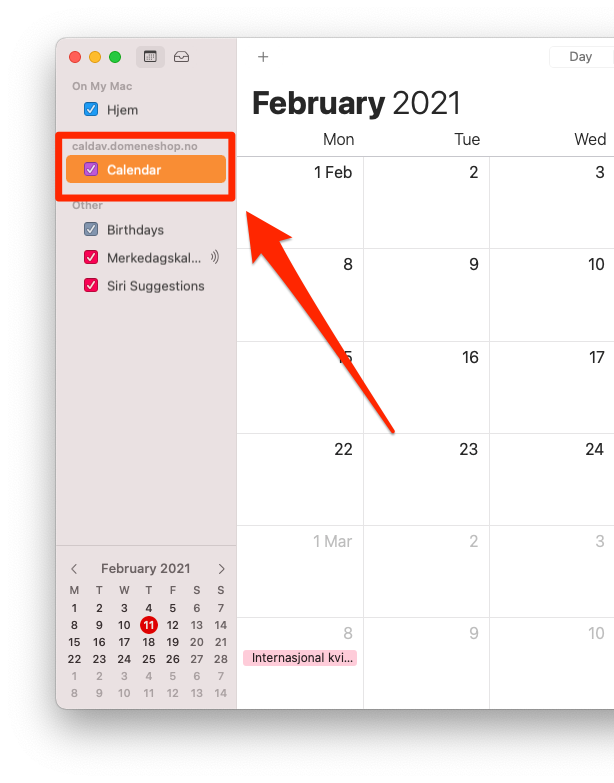
The calendar that is connected to your account can be found in the "Calendar" under caldav.domeneshop.no


 support
 +47 2294 3333 (closed)


