To create a signature for your outgoing emails in the webmail, do the following:
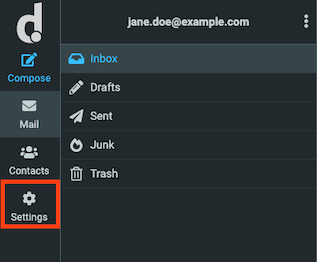
Click Settings on the menu to the left in the webmail interface
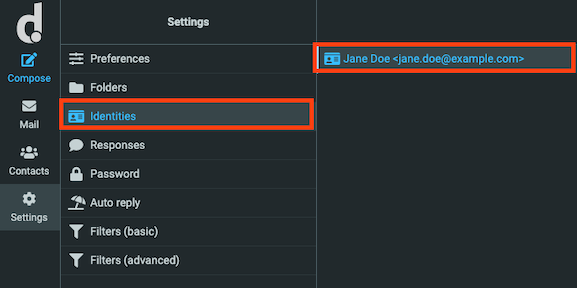
Click Identities and select the sender-identity you want to change.
Add your signature in the Signature-field at the bottom.
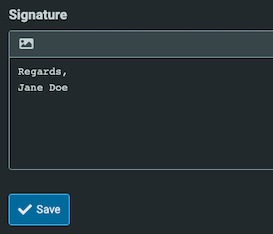
Click Save to save your changes.
HTML-signature
PS! In order to make sure your emails will look correct in HTML you first need to activate HTML in your settings. This is done under Settings → Preferences → Composing Messages. Set Compose HTML messages to always and click Save at the bottom.
If you would like to change the size, color or type of the font, you can check the tickbox for HTML-signature and use the button row above the signature field to edit the text as you like.
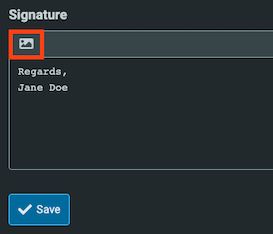
If you know HTML, you can also edit the raw HTML-code of the signature by clicking the <>-button in the button row.
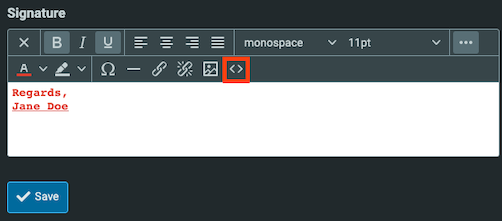
If you wish to add a picture to your signature, you can click on the picture icon on the button row.