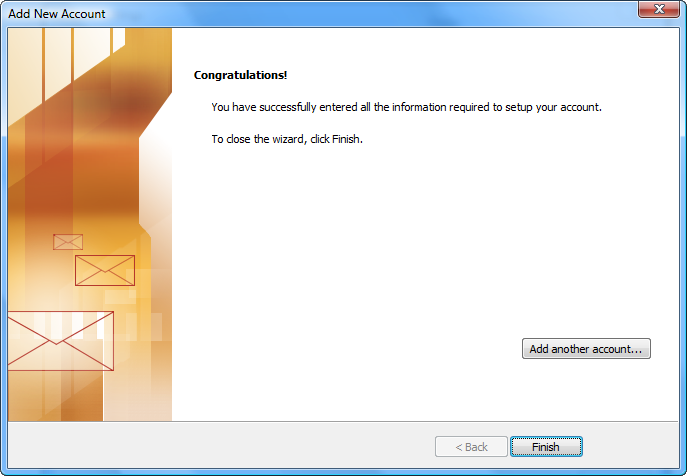
Outlook 2010 is the e-mail client in Microsoft's Office 2010 suite. It must not be confused with Outlook Express, which is a completely different program. If you are unsure which program you have, choose "File|Help" from the menu.
Note! We do not recommend using Outlook with IMAP. Outlook works reasonably well with POP accounts, but experience shows that Outlook does not combine well with IMAP. We therefore recommend that you use a different email program for IMAP, e.g. Thunderbird, which is available for free from www.mozilla.com.
Follow the steps below in order to setup an IMAP account in Outlook 2010. The screen shots are from the English version of Microsoft Office Outlook 2010. If you are using the Norwegian version, you can find the corresponding screen shots here. In other versions of Outlook the various menu items, buttons and fields may have other names and the setup procedure may differ from our example, but the principles are the same.
Before you start, make a note of the e-mail address, username and password for the account you are going to set up. You can find this information in the control panel on www.domainnameshop.com/login, or contact the system administrator if you do not manage the domain yourself.
Skip to step 3 if you're using the wizard.
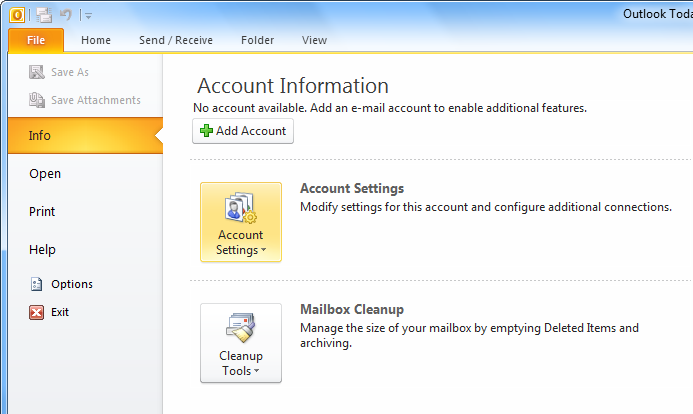
1. Start Outlook and choose "File|Account Settings" from the menu.
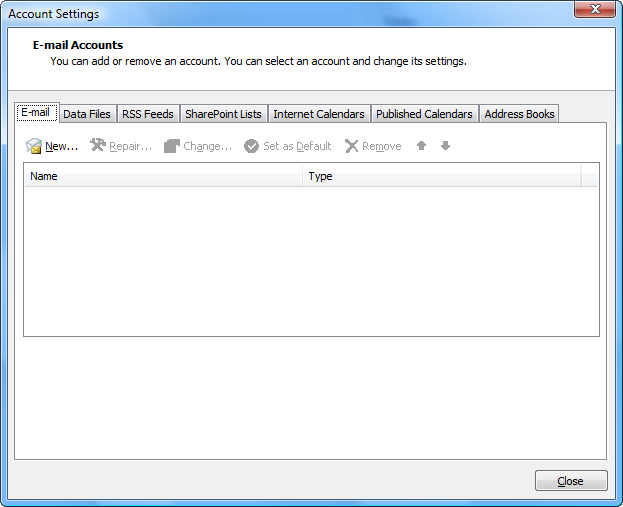
2. Choose the tab "E-mail" and click on "New...".
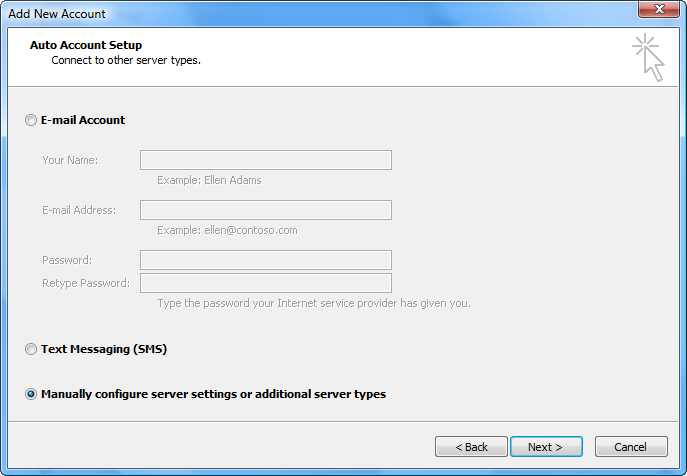
3. Select "Manually configure server settings" and click on "Next".
4. Select "Internet E-mail" and click on "Next".
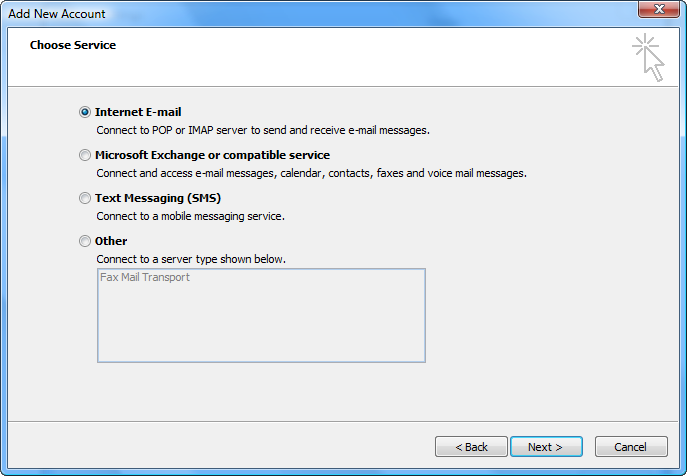
5. In the next window you must enter the server settings manually.
- Enter your name, e.g. John Smith.
- Enter your e-mail address, e.g. john.smith@example.com.
- Choose IMAP as account type.
- Enter imap.domeneshop.no as incoming server.
- Enter smtp.domeneshop.no as outgoing server.
- Enter your username (e.g. example1) and password.
- Then click on "More settings".
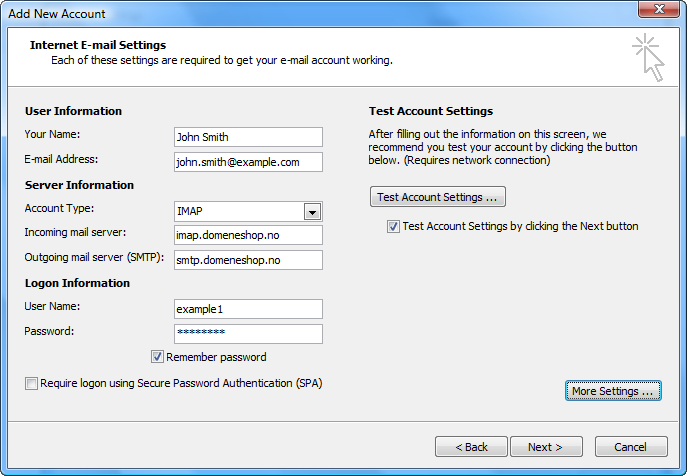
6. Select the tab "Outgoing server" and tick "My outgoing server (SMTP) requires authentication".
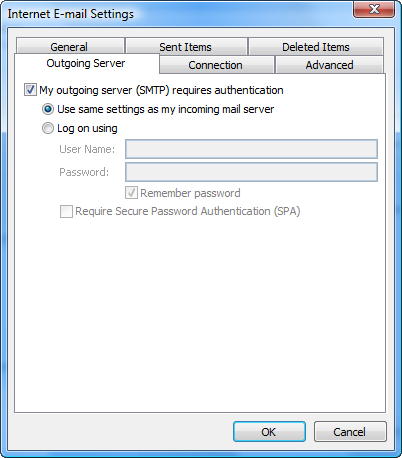
7. Select the tab "Advanced", change the outgoing port to 587 (25 is default), and enter INBOX as root folder path.
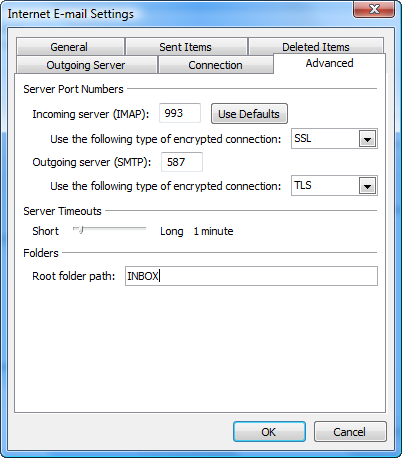
8. Click on "OK", then "Next" in the window below, and "Finish" to complete the process. If you have entered all the information correctly, your new e-mail account is now ready to use. You can test the account settings by sending an e-mail to yourself.
