To set up your Domainnameshop email in Outlook 2016 for Windows, do the following:
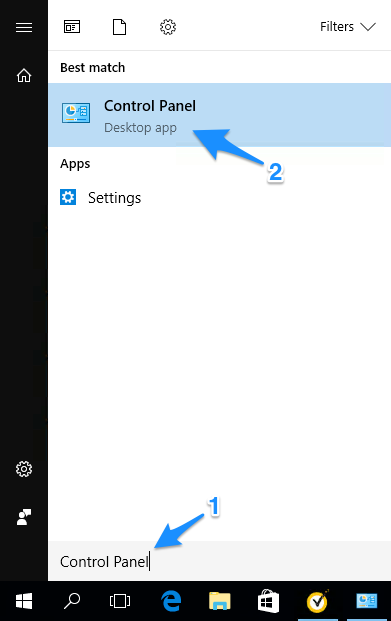
Open Control Panel in Windows. You may find this by searching in the Windows Search bar
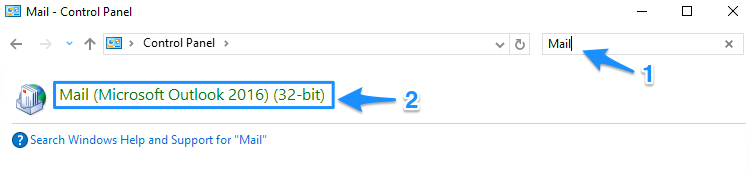
Search for Mail in the search field in the top right corner, then open the item named Mail (Microsoft Outlook 2016)
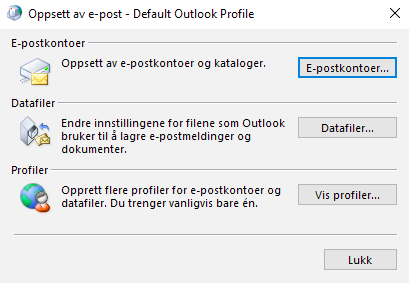
Click Email Accounts...
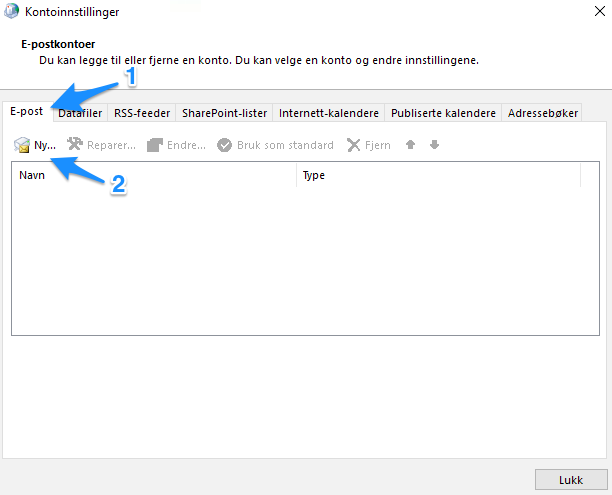
In the Email-tab, click New
Automatic configuration
Note that automatic configuration doesn't always work. If it fails, please see Manual configuration below
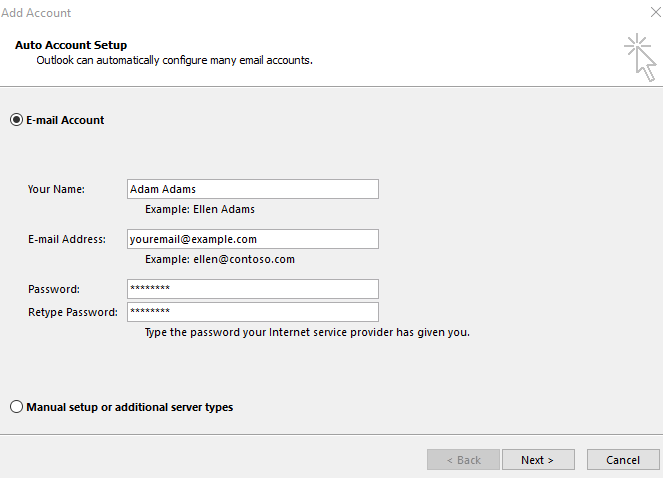
- Enter your name, e-mail adress and password. Then click Next
Click Allow when you are asked to allow https://www.domeneshop.no to configure server settings

Your account will now be configured automatically. If this fails, please see Manual configuration below
Manual configuration
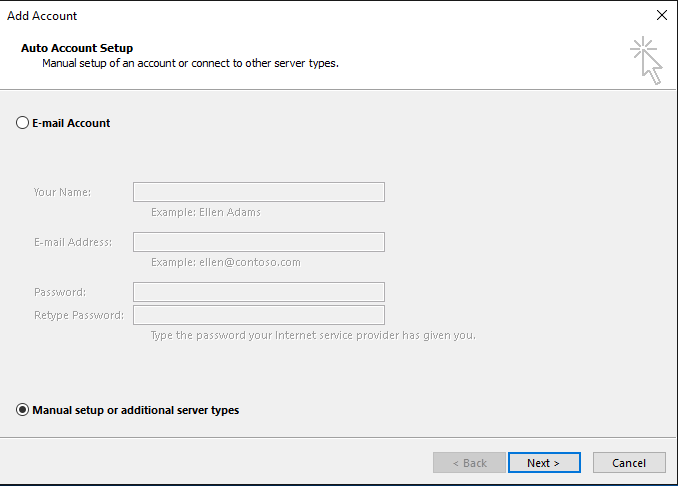
Choose Manual setup or additional server types and click Next
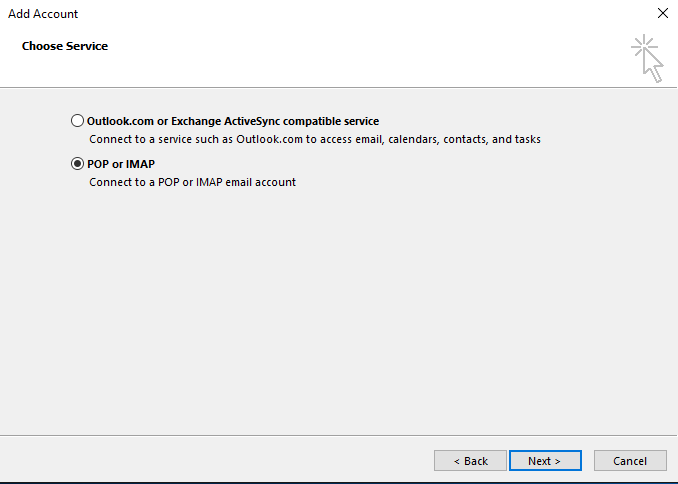
Choose POP or IMAP, then click Next
Provide the following information:
Click More settings
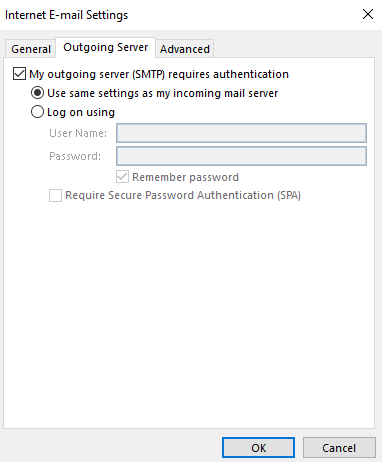
Go to the tab Outgoing Server
- Check My outgoing server (SMTP) requires authentication
- Choose Use same settings as my incoming mail server
Go to the tab Advanced and enter these settings:
Click OK
Click Next, then Finish to complete the set up


 support
 +47 2294 3333 (08-17)


